 Cart is empty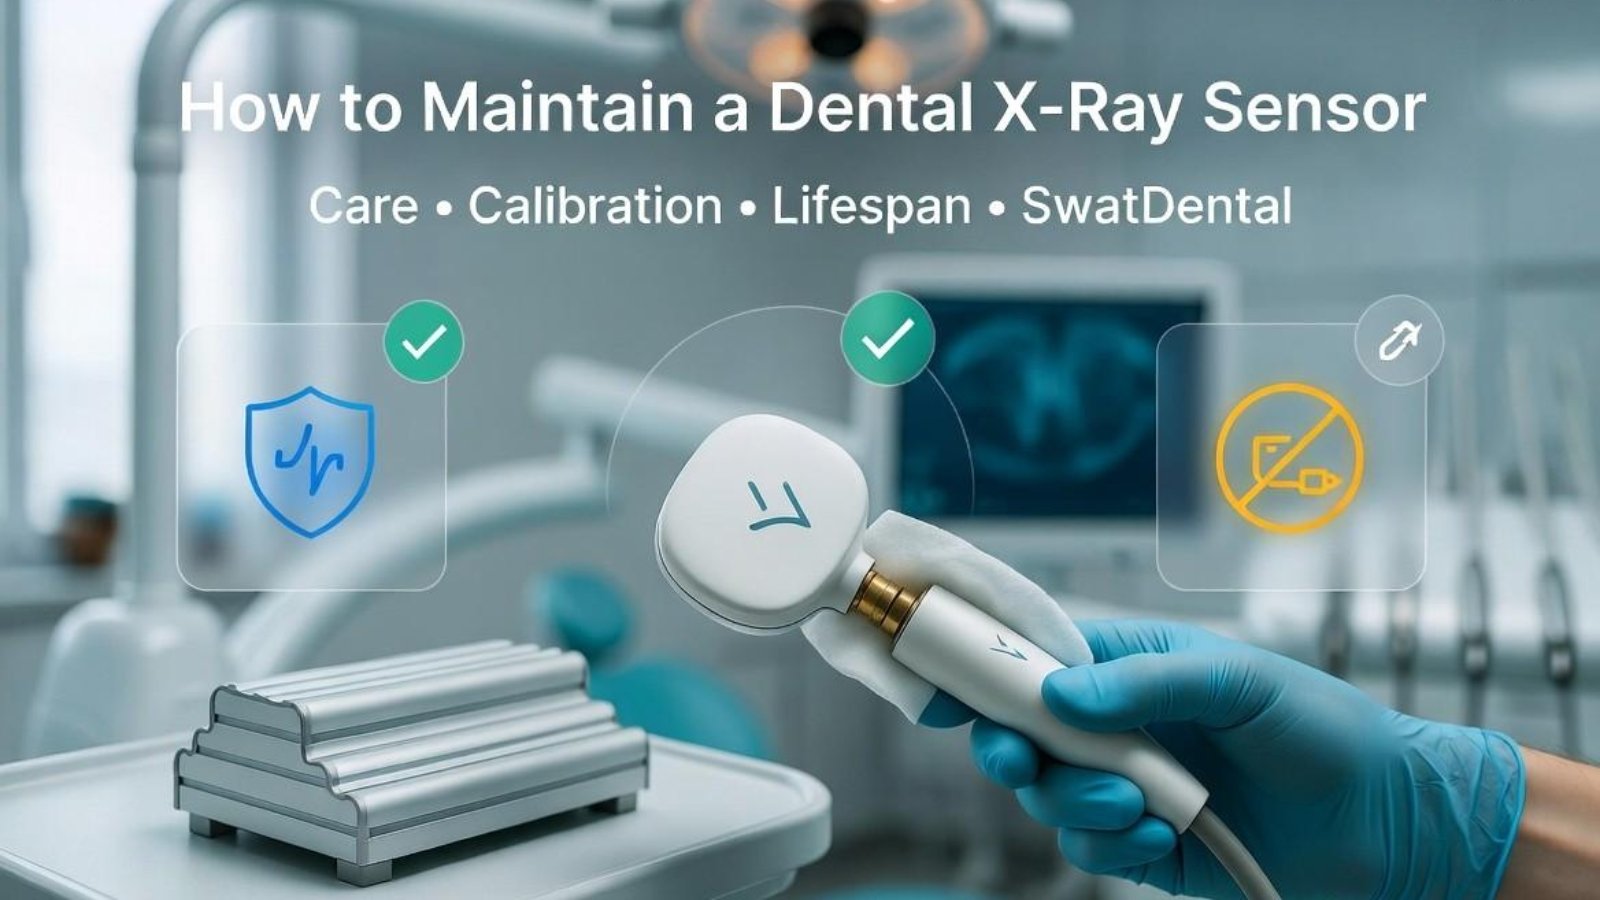
How to Maintain a Dental X-Ray Sensor
The definitive engineering guide for dental practices. Prevent image degradation, protect delicate internal components, and extend your digital sensor’s clinical lifespan.
⏱️ 11-13 Min Read
✓ Biomedical Engineering Standards
The Importance of Sensor Maintenance
Digital intraoral X-ray sensors (whether using CMOS or CCD technology) are among the most expensive and highly sensitive pieces of equipment in modern dental practices. They undergo high-volume clinical handling, constant exposure to oral moisture, and repetitive chemical disinfection between patients. Because they contain delicate electronics, fiber-optic layers, and specialized silicon components, poor handling can quickly lead to costly image artifacts, connection failures, or total electronic breakdown. Knowing how to maintain a dental X-ray sensor through proper handling, careful chemical sanitation, and correct storage protects your clinical accuracy and shields your practice from unexpected replacement costs.
1. Safe Infection Control & Chemical Disinfection
Digital intraoral sensors cannot be autoclaved or heat-sterilized, meaning they must be protected by a physical barrier and disinfected with appropriate clinical chemicals after every single patient encounter.
Always Use Custom Barriers
Always place a clean, FDA-approved plastic barrier sheath over the sensor and down the first few inches of the cable before placement in the patient’s mouth. Double-sheathing can be helpful for pediatric or high-saliva cases to guarantee a dry seal.
Wipe, Never Submerge
Clean the sensor housing and cable using professional, non-abrasive hospital-grade disinfecting wipes. Never submerge an X-ray sensor in cold sterilization liquid unless the manufacturer explicitly states the housing is rated for IP67 or IP68 complete immersion.
Avoid Aggressive Chemicals
Avoid using harsh cleaning chemicals like highly concentrated bleach, acetone, or pure ketone compounds. These solvents dissolve the structural bonding glues along the sensor casing edges, letting saliva leak directly into the electronics.
2. Proper Cable Management & Stress Prevention
The copper wiring inside a sensor cable is extremely fine. Roughly **70% to 80% of premature sensor failures** happen because the cable is kinked, twisted, or pulled away from the main housing. Protecting the cable connection is critical for extending the sensor’s lifespan:
- Avoid Tight Taping or Wrapping: Never wrap the connection cable tightly around your sensor wall mount, PC monitor, or X-ray tube head. Instead, loop the cable loosely in large, wide circles (at least 4-6 inches in diameter) to prevent internal wire braiding from snapping.
- Watch the Floor Paths: Ensure the sensor cable never trails across the office floor. Rolling a heavy dental stool over an exposed cable can crush the internal shielding instantly, causing communication drops and permanent image static.
- Unplug via the Connectors: When disconnecting a USB sensor from the operatory computer, never pull on the long cable itself. Grip the rigid plastic USB connector plug directly and slide it straight out to avoid damaging the computer port or the wire anchoring points.
3. Optimal Handling and Storage Protocols
A safe, standardized storage environment reduces the risk of physical drops or accidents when the sensor is not being used to capture images:
Utilize Dedicated Wall Holders
When a sensor is not actively being used, place it in a custom, molded silicone wall basket or cradle. Leaving a loose sensor sitting on a tray table makes it easy to accidentally knock off onto the hard office floor, which can crack the delicate internal fiber-optic plates.
Protect from Countertop Weights
Never stack heavy metal instrument boxes, hygiene trays, or diagnostic tools directly on top of your sensor units. Concentrated pinpoint weight can crush the delicate CMOS pixel matrix, creating blank spots or dead pixels on your diagnostic images.
4. Quality Assurance Calibration & Testing
Over time, continuous radiation exposure causes slight shifts in how individual pixels react. Regular system calibration updates keep your contrast balance sharp and ensure accurate diagnostic files:
| Maintenance Step | Recommended Clinical Interval | Biomedical Purpose & Technical Impact |
|---|---|---|
| Visual Inspection | Daily (Morning Routine) | Checks for visible cracks in the outer casing, bite marks, or cable fraying before patient use. |
| USB Port Cleaning | Monthly Interval | Clears out dust and debris using compressed air to maintain a stable connection with the software. |
| Software Calibration | Bi-Annually / Yearly | Applies standard gain files inside the imaging software to balance pixel variations and prevent image ghosting. |
| Step-Wedge Phantom Test | Annually | Exposes a uniform aluminum block to confirm proper gray-scale resolution and check sensor density metrics. |
🔍 Deep Equipment Knowledge: Curious about the inner electronic layers you are protecting during daily care? Check out our complete technical companion article explaining how dental x-ray sensors work to see how internal scintillators convert radiation lines into clinical data.
5. Troubleshooting Common Sensor Issues
If your imaging software suddenly shows connection errors or artifacts, walk through these basic technical checks before calling out a field repair technician:
- “Sensor Not Found” Errors: Disconnect the USB line, reboot your imaging software workstation, and plug the connector into a different USB main port directly on the computer tower. Avoid using unpowered external USB extension hubs, as they often fail to supply enough current to start the sensor.
- White Lines or Fixed Spots on Images: This often indicates either a scratching issue or dead pixel clusters caused by impact drops. Run an empty, low-exposure calibration shot to determine if the lines are permanent hardware defects or simply temporary artifacts in the software settings.
- Intermittent Communication Drops: If the sensor disconnects only when the cable is moved, the internal wire shielding is likely worn or frayed. Stop using the device to prevent an electrical short, and send the unit out to a certified laboratory for a professional cable replacement.
Find Certified Diagnostics & Dental Equipment Supplies
Need high-durability digital X-ray sensors, custom wall mounts, replacement sleeves, or professional technical support? SwatDental provides dental practices with high-performance digital imaging equipment and support services.
Add a Comment